前言:随着前端工程化的不断深入,同时 Node 给前端开发带来了很大的改变,促进了前端开发的自动化,越来越多的人选择使用脚手架来从零到一搭建自己的项目。其中最熟悉的就是vue-cli和create-react-app,它们可以帮助我们初始化配置、生成项目结构、自动安装依赖等等,最后我们一行指令即可运行项目开始开发,或者进行项目构建(build)。在实际的开发过程中,我们可能会有自己的特定需求,那么我们就得学会如何开发一个Node命令行工具。
在前面的文章 动手搭建react开发环境系列 中,结尾处我们说到,既然我们的项目结构搭建好了,但不能每次开发都来手动复制项目结构,所以我们就要通过执行命令就生成我们需要的项目结构。
我们的初步设想是,在指定目录下执行一个命令(假设为create)
1 | hzzly create demo |
就会生成一个目录名为 demo 的项目,里面包含有我们所需的基础项目结构。
开始
初始化项目
1 | mkdir hzzly-cli |
依赖
1 | yarn add commander chalk boxen fs-extra inquirer ora update-notifier download-git-repo rimraf |
- commander 一款重量轻,表现力和强大的命令行框架
- chalk 用于打印彩色的信息
- boxen 创建小“面板”
- inquirer 交互式命令行用户界面的集合
- ora 用于创建 spinner,添加下载模板 loading 效果
- update-notifier 用于检查包的线上版本与本地版本
- download-git-repo 从节点下载并提取git存储库
初探
1、创建一个用于运行命令的脚本
1 | // bin/hzzly.js |
执行
1 | node bin/hzzly.js |
不出意外的话能够看到输出了 hello world ~,当然这不是我们想要的结果,我们是要直接运行 hzzly 命令就能输出 hello world ~
🔥Tip: 主入口文件的最上方添加代码 #! /usr/bin/env node, 表明这是一个可执行的应用
2、添加命令
1 | // package.json |
这里我们指定 hzzly 命令的执行文件为 bin/hzzly.js。
3、全局运行命令调试
在项目目录下运行:
1 | npm install . -g |
这样就可以使用 hzzly 命令了。
到此,一个本地的 npm 命令行工具就已经成功完成了,接下来我们就来完善具体的功能。
脚手架开发
1、效果
1 | Usage: hzzly <command> [options] <app-name> [folder-name] |
2、准备项目模版
脚手架是帮助我们快速生成一套既定的项目架构、文件、配置,而最常见的做法的就是先写好一套项目框架模版,等到脚手架要生成项目时,则将这套模版拷贝到目标目录下。
- 一种是直接放在本地
- 另一种是托管在 github 上
这里我们选择托管在 github,然后通过download-git-repo下载到指定目录。我准备了一个项目模版,之后就会用它来作为脚手架生成的项目结构。
3、初始Command
1 | // bin/hzzly.js |
这样,当我们执行 hzzly 命令时就会有如下效果:
1 | Usage: hzzly <command> [options] <app-name> |
接下来就可以去定义我们的 Commands 了。
4、定义Command命令
在 program.parse(process.argv) 前面去定义我们的command命令
为什么要在它前面去定义命令呢?
parse 用于解析process.argv,设置options以及触发commands
1 | // bin/hzzly.js |
- command 定义命令行指令
- description 命令描述,它会在help里面展示
- option 定义参数。它接受四个参数,在第一个参数中,它可输入短名字 -a和长名字–name ,使用 | 或者 , 分隔,在命令行里使用时,这两个是等价的,区别是后者可以在程序里通过回调获取到;第二个为描述, 会在 help 信息里展示出来;第三个参数为回调函数,他接收的参数为一个string,有时候我们需要一个命令行创建多个模块,就需要一个回调来处理;第四个参数为默认值
- action 注册一个 callback 函数
接下来就是处理生成项目模板的逻辑了,继续。
5、处理生成项目结构逻辑
5.1、思路
- 1、输入
vue create提示输入项目文件夹名称 - 2、输入
vue create .表示在当前目录构建项目,但要给个提示(是否确定要在所在目录生成项目,其它文件将被删除) - 3、输入
vue create app表示在当前目录生成一个app的目录并在此目录构建项目,当有相同的目录时也要提示(当前目录已存在,是否继续构建)
好了,思路有了就 so easy 了
1 | // bin/hzzly.js |
5.2、checkAppName
1 | // 处理项目名称 |
5.3、checkEmpty
1 | // 判断目录是否为空 |
5.4、checkExist
1 | // 判断目录是否已存在 |
5.5、downloadAndGenerate
1 | // 下载模板构建项目 |
看到这,开发阶段就可告一段落了,我们已经可以通过 hzzly create <app-name> 命令行构建项目目录的步骤,接下来就是发布到npm给其他人使用。
发布到npm
到目前为止,我们开发的 hzzly 还是在本地的,现在就该将其发布到 npm 上了。
1、首先 注册一个账号。
2、在终端执行
1 | npm login |
输入用户名、密码和邮箱便可将本地机器与 npm 连接起来了。
3、修改package.json
1 | { |
添加 files 属性指定哪些文件提交到 npm,这样可以减少包的大小。
4、发布
1 | npm publish |
更新包
首先修改 package.json 配置文件中的 version 字段,比如这里我从 1.0.0 改成 1.0.1(只能大于当前版本),然后修改脚手架,最后再次
1 | npm publish |
优化
1、添加小面板
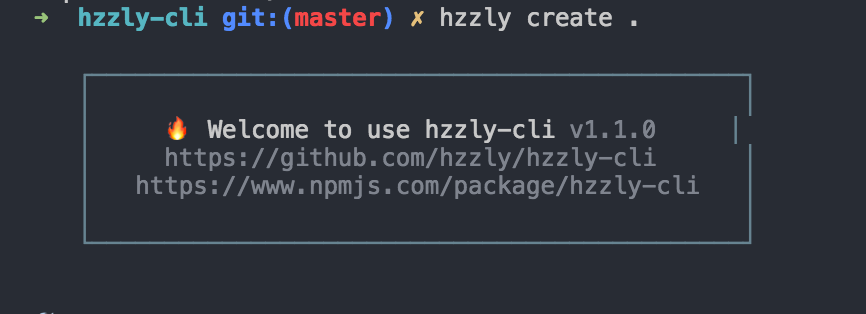
1 | const boxen = require('boxen'); |
2、检查包的线上版本与本地版本
1 | const updateNotifier = require('update-notifier'); |
3、README.md添加徽标
推荐自动生成徽标网站 shields.io


深入inquirer.js
创建脚手架的时候我们会发现很多脚手架都需要我们和命令行频繁交互,就像我们使用npm init的时候一样,那么是如何实现和命令行交互的呢?此时inquirer.js闪亮登场。
1、基本用法
1 | const inquirer = require('inquirer'); |
2、参数详解
- type:表示提问的类型,包括:input, confirm, list, rawlist, expand, checkbox, password, editor;
- name: 存储当前问题回答的变量;
- message:问题的描述;
- default:默认值;
- choices:列表选项,在某些type下可用,并且包含一个分隔符(separator);
- validate:对用户的回答进行校验;
- filter:对用户的回答进行过滤处理,返回处理后的值;
- transformer:对用户回答的显示效果进行处理(如:修改回答的字体或背景颜色),但不会影响最终的答案的内容;
- when:根据前面问题的回答,判断当前问题是否需要被回答;
- pageSize:修改某些type类型下的渲染行数;
- prefix:修改message默认前缀;
- suffix:修改message默认后缀。
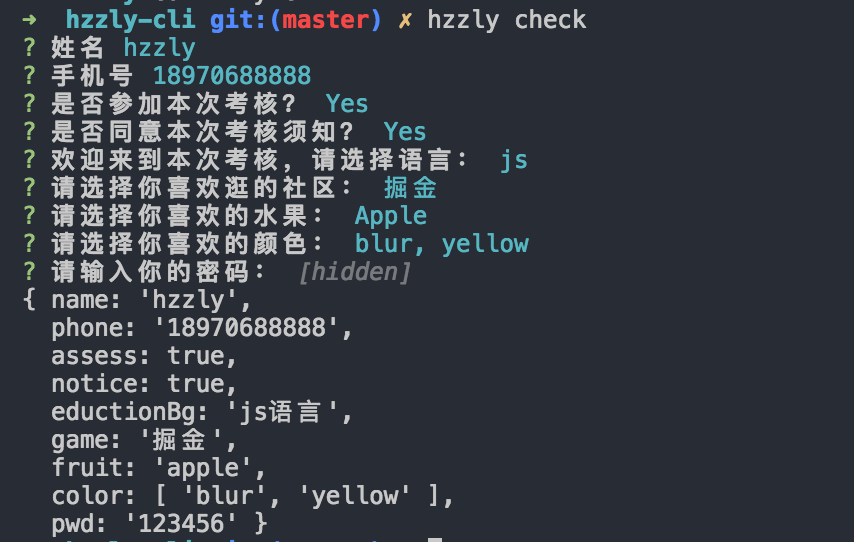
3、实例
1 | const opts = [ |
代码已上传至我的GitHub,欢迎 Star、Fork